Dashboard
Allow listing owners to view detailed traffic analytics for their listings.
Overview
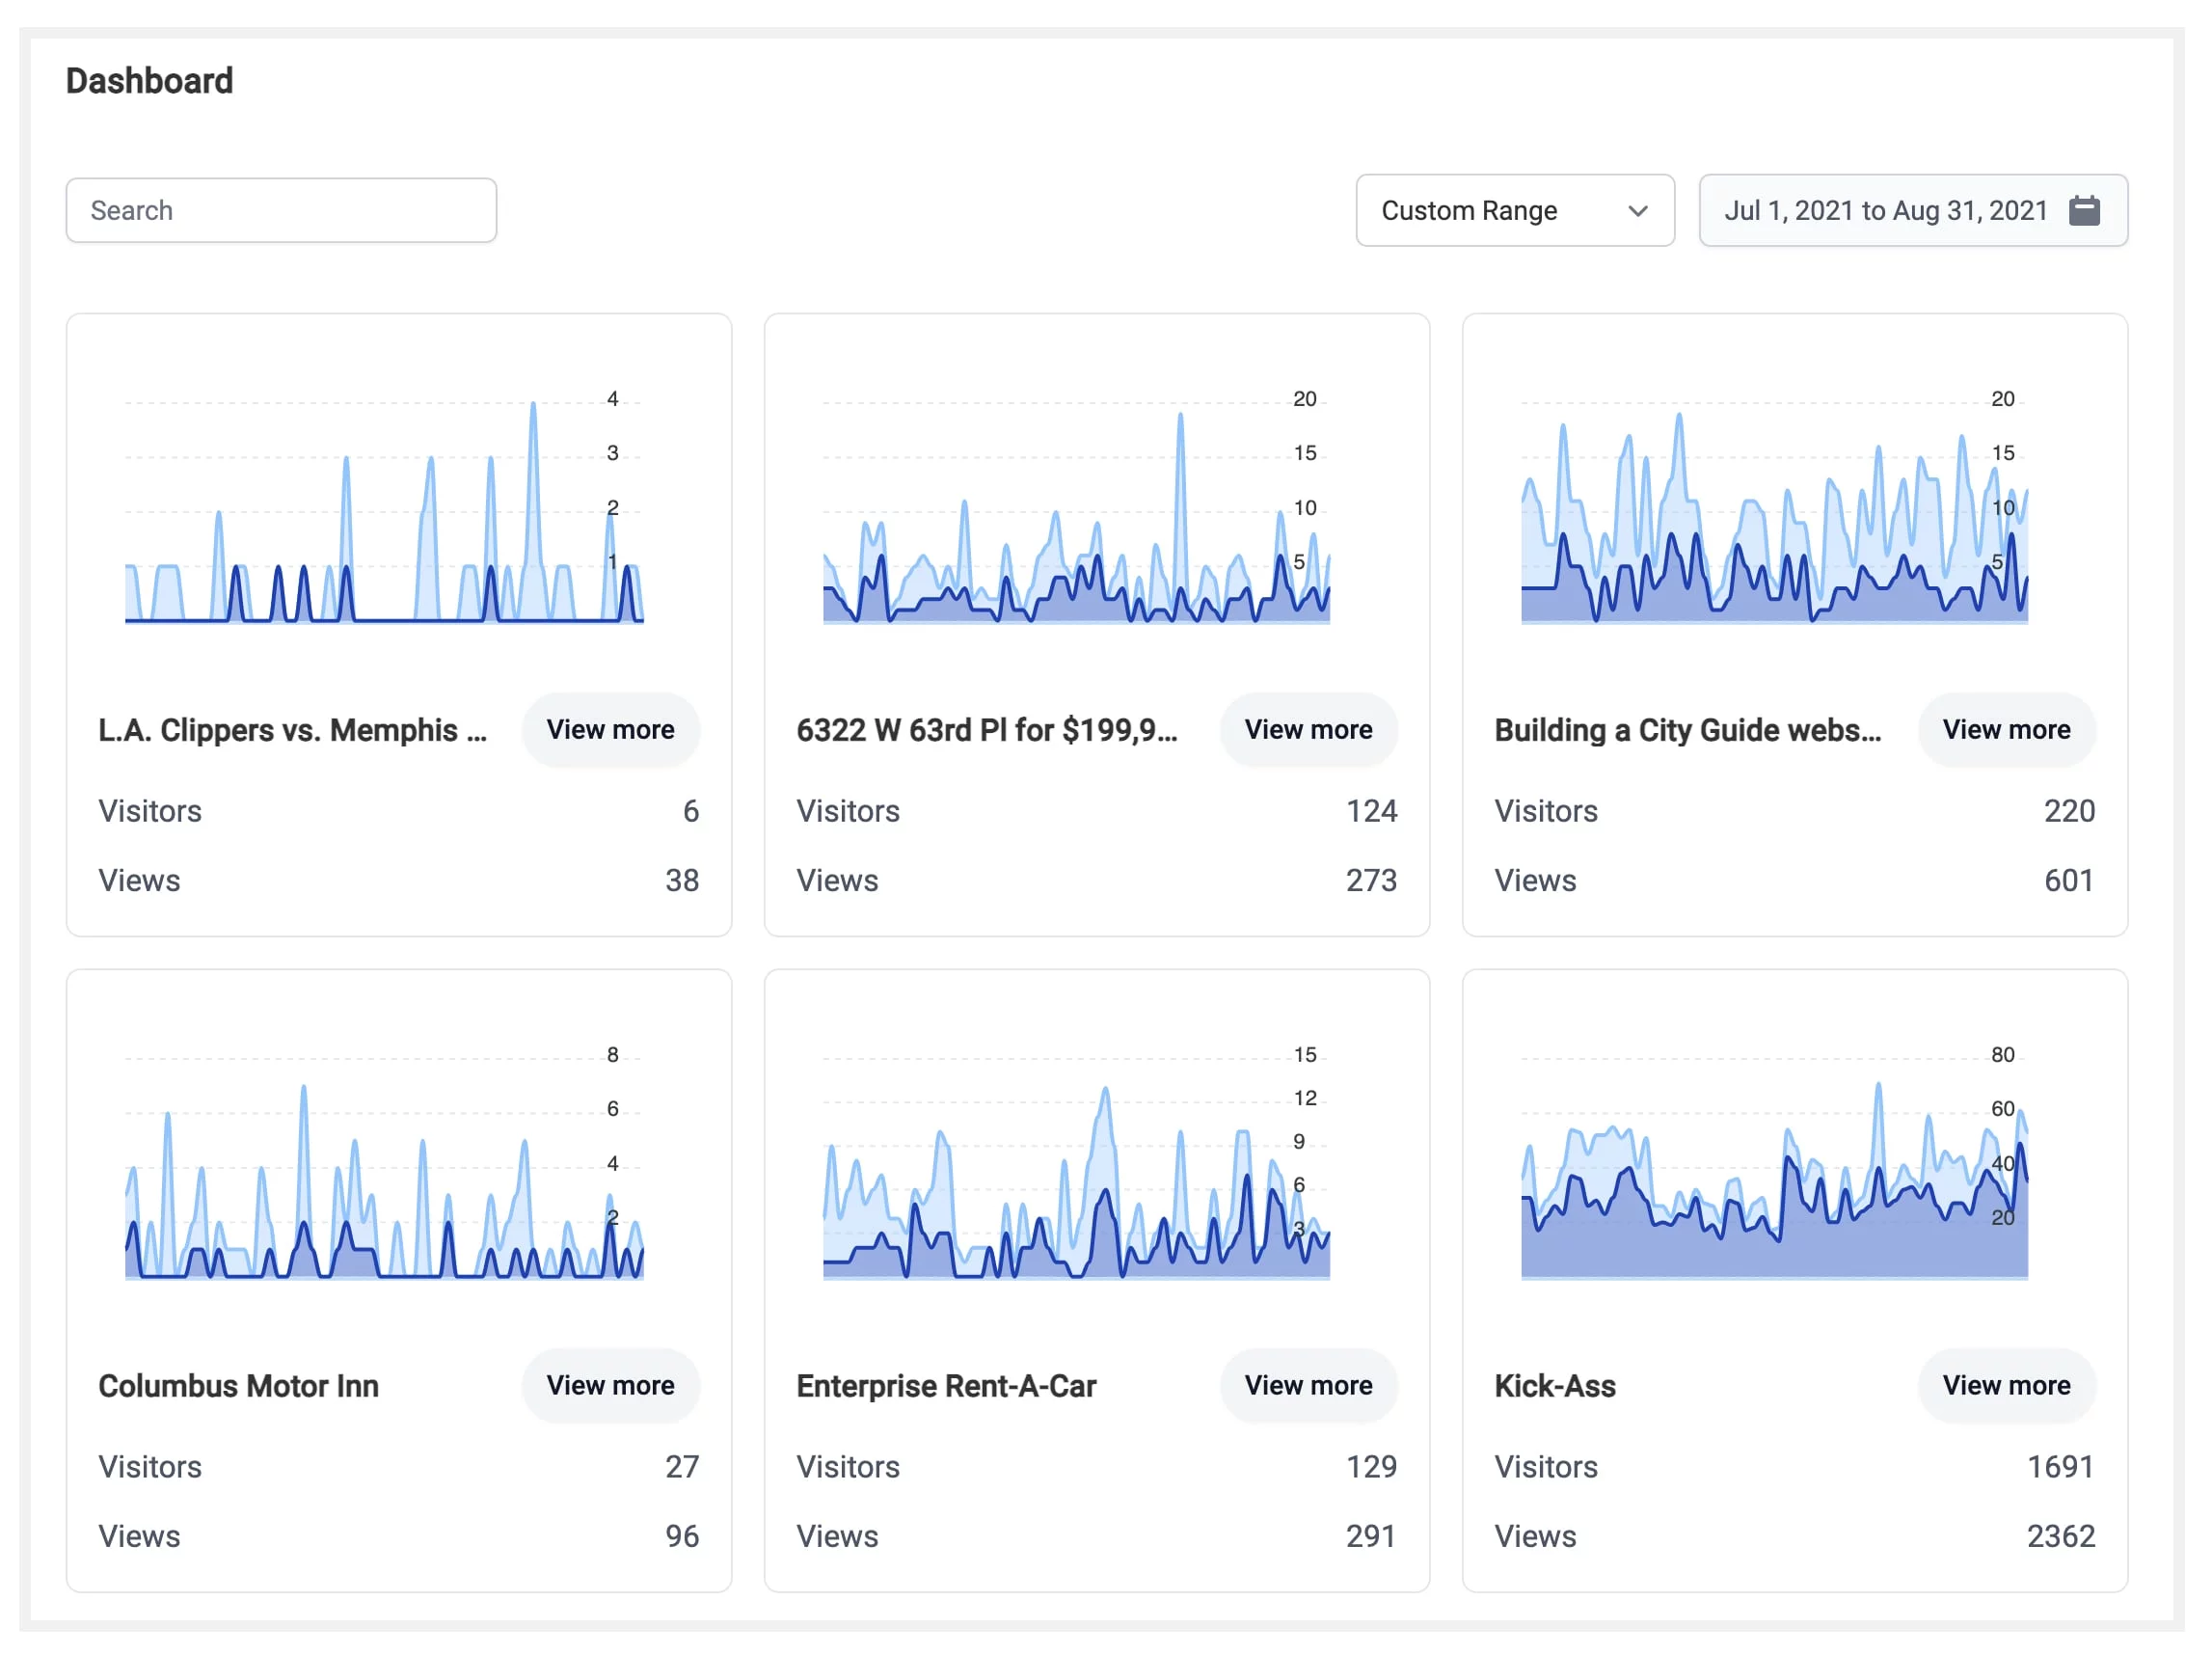
Dashboard offers a beautiful interface for business listing owners giving them access to detailed historical traffic statistics for their individual listings.
Dashboard relies on 3rd party analytics providers and their APIs to access your site's traffic data and includes out-of-the-box integrations for two providers:
-
Fathom Analytics, a privacy focused provider that offers an easy-to-use interface that any site owner can understand, without sacrificing functionality.
We already switched all our web properties to Fathom Analytics because we love how easy it is to use, they actually have humans that reply to your support questions, and they keep adding new features. It's a paid service because you are not actually giving away your user data in exchange and and it's well worth it. Use our affiliate link below to receive $10 off your first invoice.
-
Google Analytics, a non-privacy focused, horrible-to-use and to setup provider.
- Google Universal Analytics will stop collecting data from your site in mid-2023.
- The Dashboard addon only works with Google Analytics 4, so if your Google Analytics properties are not using GA4, you will need to create a new property using GA4. Keep in mind that Google doesn't offer a way to import your GA3 property data.
- When using GA your site activity may take up to 24 hours to be reflected in their API responses.
Fathom has been working on a Google Analytics importer which is going to be a great tool to be able to bring over your historical data to the Fathom dashboard.
Requirements
You'll need to be using either Google Analytics or Fathom Analytics on your site to collect traffic data. You can use a plugin or your template/theme functionality to add their tracking code to your site.
Getting Started
The Add-on has a single front-end page where listing owners can view their listing analytics. After installing the Add-on, create the JReviews menu for the Dashboard Add-on.
Next, you need to setup the Add-on configuration for your provider of choice.
Setup with Fathom Analytics
When using Dashboard with Fathom Analytics, the setup process is extremely simple.
The Fathom API is currently in Early Access. You can find more information in the Fathom API documentation page and contact them to request access to get your API token.
-
Copy your API Token from your Fathom account to the Add-on configuration screen in JReviews. Save.
-
Select Fathom Site account that corresponds to your website. Save.
If you use a site-restricted key, you will need to copy the Site ID from the Fathom Dashboard to the add-on setting and make sure to give the key
readandtrackpermissions.
Setup with Google Analytics 4
Disclaimer: We really don't like Google Analytics. Their user interface and API are extremely complex to use, so we end up spending a lot more time developing for Google Analytics than we do for Fathom. It's possible that we won't be able to provide feature parity between the two services going forward or that we'll end up dropping Google Analytics support altogether.
This section has been updated for Google Analytics 4 usage because the addon no longer supports Universal Analytic properties. If you were previously using the addon with Universal Analytic properties you need to update your integration to use GA4 properties.
The setup process requires a few steps to get two pieces of information to complete the setup:
- Google server-side API authentication credentials
- Google Analytics Property ID
Brace yourself for a horrifying setup process! The user interface shown in the images may be different from what you see due to frequent changes on Google's part.
-
Go to the Google Cloud Platform APIs website. You'll need to select an existing project or create a new one. If you are already using Google Maps on your site, then you most likely already have a project you can use.
-
Add the
Google Analytics Data APIto the project. In the sidebar clickLibrary, search forGoogle Analytics Data API, click to view the details and enable it.After enabling the API, go back to the project's API & Services page. You can also find the link to
API & Servicesin the hamburger menu dropdown on the top-left. -
Create a new Service Account to download the credentials. In the sidebar click
Credentials, then at the top click+ Create Credentialsand selectService Account.Use any name and ID you want (google-api used below as an example):
- Service account name: google-api
- Service account id: google-api (or let it create one for you)
- Description: JReviews Dashboard Add-on
Click
CREATE AND CONTINUE, thenDONE. You can skip optional steps 2 and 3. -
Find the account you just created under "Service Accounts" on the same page (refresh the page if needed). Click the account link.
Go to the
Keystab. Then clickADD KEY, and selectCreate new key. Leave the default "JSON key" type selected, and clickCREATEto download the file.Download the Service Account key JSON file.
Copy the contents of the file, as is, to the
Google Service JSONsetting in the Add-on configuration. -
Time to head over to your Google Analytics 4 account, where you will grant property access to the authentication account you just created in the Google Console.
Go to the Admin section of your Google Analytics Account. Under
Property, clickProperty Access Management.Click the blue (+) icon on the top-right to add a new user. In the email address field, paste the
client_emailvalue found in the JSON file you downloaded before, then save. -
The final step is to get your Google Analytics
Property IDthat you can find underProperty Settings. Copy that value and paste it in the Dashboard Add-on configuration and save.
The Addon automatically validates the credentials when you save them. If everything is ok, then you won't see any errors and you are ready to go.
Displaying Events
In addition to traffic data, the addon can also show custom defined events. For example you could define events to track clicks on specific buttons, fields, etc. and the addon can display the completion totals for those events and also the historical values.
The addon makes it easy to setup which events to display in a listing's dashboard page. When you add an event in the configuration, the addon automatically list the custom events it finds in your Fathom and GA accounts and lets you add a custom label for it.
Adding custom event tracking code is not part of the addon functionality. This is something you would need to do using the code provided by Fathom and Google Analytics.
Fathom
The Fathom documentation guides you through the event creation process and gives you examples on how to use it to track clicks and form submits. Read the Fathom docs.
So Fathom javascript tracking code looks like this:
fathom.trackGoal('YOUR-EVENT-ID');
And you can add that to onclick attributes directly to links, buttons:
<a href="/link" onclick="fathom.trackGoal('YOUR-EVENT-ID');">Link Text</a>
Or you can bind it to any element on the page using event listeners:
<script>
window.addEventListener('load', (event) => {
  document.getElementById('some-link').addEventListener('click', () => {
  	fathom.trackGoal('YOUR-EVENT-ID');
  });
});
</script>
Google Analytics
For GA you'll need to create custom dimensions (aka events). Go to Admin, then under Property find the Custom definitions link and click Create custom dimensions. And example of the data you can fill in:
-
Dimension name:
Clicked Phone Field -
Scope:
Event -
Event parameter:
phone_clickYou will see a list of options to select here, but you should type the event name you want to use and save.
You can learn more about creating custom dimentions and tracking events in the Google Analytics documentation. Read the Google Analytics docs.
The Google Analytics tracking code looks like this:
gtag('event', 'EVENT-PARAMETER')
And similar to the example above provided by Fathom, you can also bind it the onclick attribute of links and buttons:
<a href="/link" onclick="gtag('event', 'EVENT-PARAMETER')">Link Text</a>
Or to any element on the page using event listeners:
<script>
window.addEventListener('load', (event) => {
  document.getElementById('some-link').addEventListener('click', () => {
  	gtag('event', 'EVENT-PARAMETER')
  });
});
</script>